Scenery tips for travel photography
Shots of scenery play an important role in your travel ‘story’.
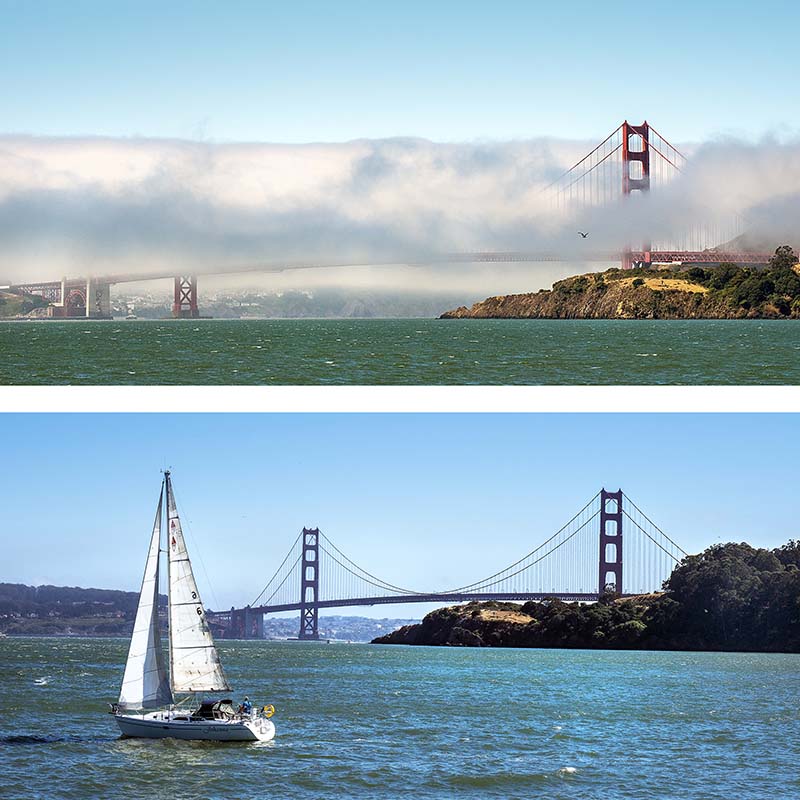
Famous landmarks like the Golden Gate Bridge in San Francisco can be attractive subjects at almost any time of day. The top picture was taken as the early morning mist was rising, while the lower picture was taken in the early afternoon when the sun was high in the sky.
Shots of scenery play an important role in your travel ‘story’ so it pays to make the best of any opportunities presented. The secret to success lies in getting the lighting right. Pay attention to the changes that occur throughout the day and as you move through the landscape.
The ‘golden hours’ for shooting scenery occur between roughly 30 minutes before and about an hour-and-a-half after sunrise in the morning and between about an hour before sunset and up to an hour after the sun has gone down. In high latitudes these times are extended during the summer and beyond 66 degrees (north or south) there are periods of total daylight in summer and total night in winter. The lighting in these areas is outstanding for creative photography.
Some places can be photographed successfully at most times of day – and some, like canyons, are best photographed around midday. Research the areas you plan to visit and try to be in the right place at the right time to take advantage of ambient lighting conditions.
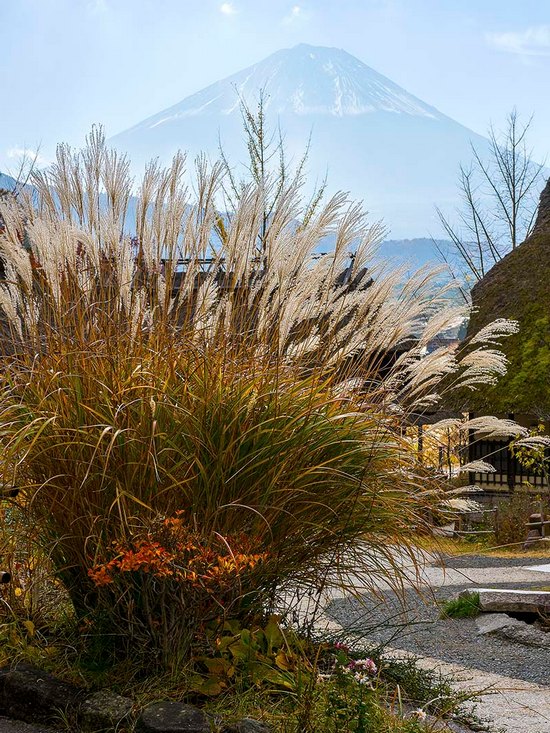
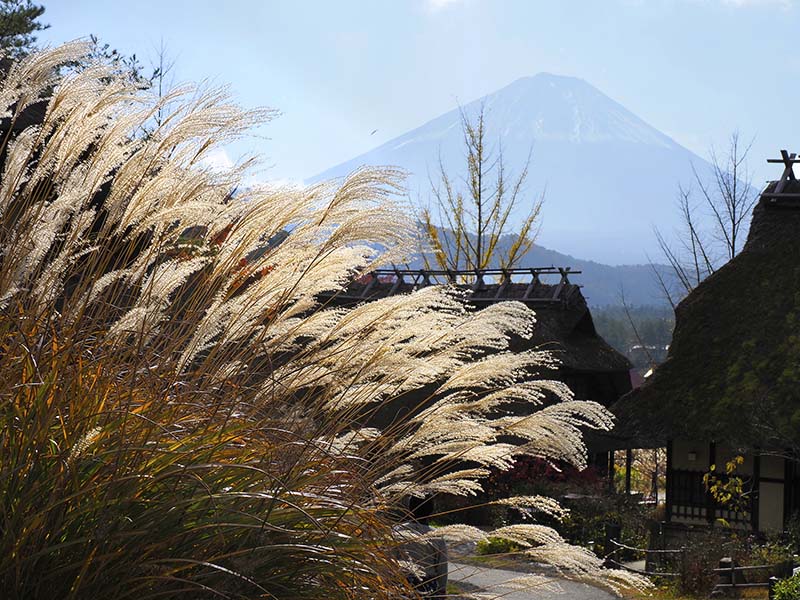
Landscape and portrait orientations can change what is and is not included in a picture and influence viewers’ reactions to it.
Don’t be constrained by convention. While the standard rules of composition are useful guides, be prepared to experiment. Take a few shots with landscape orientation and then switch to portrait format and see what a difference it makes to the way you view the scene.
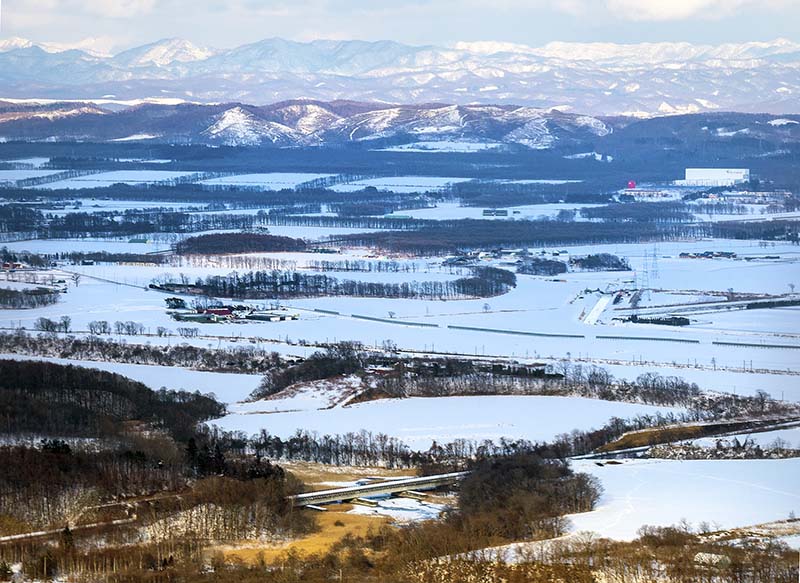
Shots taken through the aircraft’s window as you come into land can be useful for setting the scene ahead of subsequent pictures in a slideshow.
Don’t forget to shoot when travelling to and between destinations – including shots from the aircraft as you approach. While it can be difficult to avoid reflections when shooting through the window, resting the camera’s lens against the window might reduce them. However, vibrations transmitted through the vehicle could be difficult to overcome.
Don’t use flash; move in close to the window without actually touching it and surround the camera and lens with dark fabric (a rug, jacket or sweater) to exclude stray light. Switch to manual focus and set the focus on infinity. A relatively wide aperture setting should blur out any scratches and dirt on the window, while a fast shutter speed will minimise camera shake due to vibration.
When on a tour, move away from the designated ‘photo stop’ where everybody else takes pictures; look for a more interesting viewpoint. For the cost of the trip, it’s worth making an extra effort!
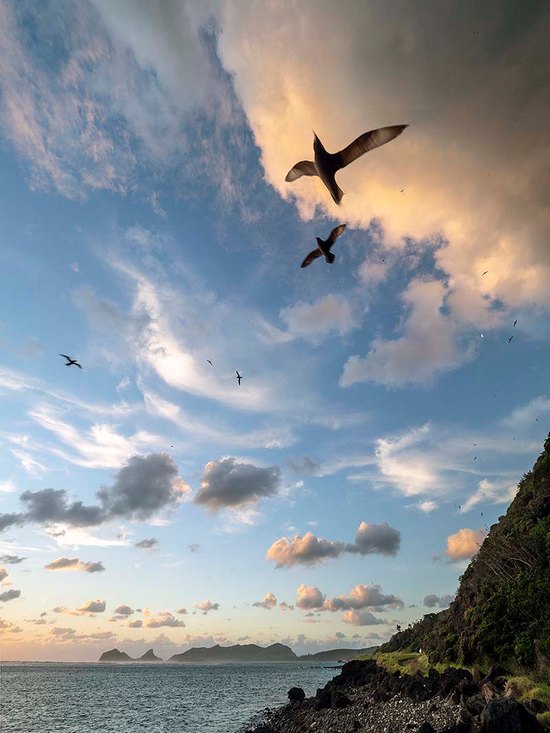
Moving away from others in the group made it possible to capture this attractive shot of Lord Howe Island’s Providence Petrels wheeling about the sky before coming in to land at sundown.
Watch your horizons and try to keep them genuinely horizontal in shots that include built structures. Many cameras provide grid overlays or level indicators as levelling aids. Grid overlays are also useful guides for the more formal types of pictorial composition.
Try some shots with sloping horizons (it needs to be obvious or viewers will think it was accidental!). But be careful about the subject matter in the shot and be sure of your reasons for shooting at a slant. If well done, it can make a refreshing variation from the standard shot.
Don’t take every shot standing up; try crouching or even lying down to get a different viewpoint. Climb onto a seat or up some steps. As a tourist, you have the advantage of anonymity so it doesn’t matter if you look a bit odd while you’re taking photos.
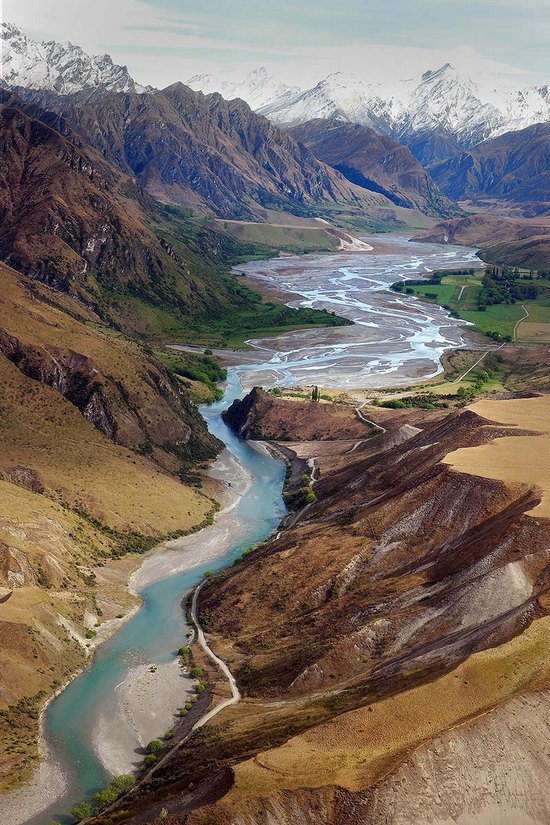
Helicopter flights are a great way to get a ‘bird’s eye’ view of a landscape and may take you over areas that would otherwise be inaccessible. Sometimes you will be able to shoot through open windows or doors and avoid problems associated with shooting through glass.
High vantage points can provide a radically different viewpoint. Drones can provide birds’ eye views, although they can be difficult to carry with you on trips where you must travel light. Take advantage of helicopter (or light aircraft) flights over popular tourist areas.
These additional tips will help you to obtain the best results from your shots:
- Use a lens hood to optimise the contrast and colour depth in your shots.
- Zoom with your feet when you need to change perspective or get a different view.
- Use a tripod or steady the camera on a flat surface when light levels are low.
- Be judicious in your use of filters, particularly polarisers.
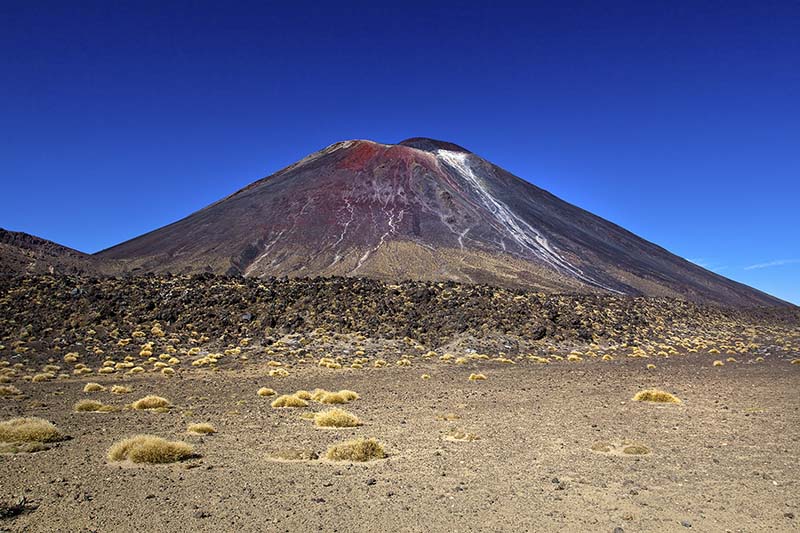
Be wary of using polarisers when shooting at high altitudes and under clear blue skies. Polarisation can darken the sky to the point where it becomes unnatural-looking, as shown here.
The value of raw files
Shoot raw files if you’re serious about image quality and want to be able to print your best shots. Storage is relatively cheap so the size of raw files shouldn’t concern you; it’s better to have all the image data than having to work with the reduced data set you get with JPEG compression.
Many cameras allow you to combine raw files with reduced-size JPEGs and this can be handy for saving storage space. Keep the JPEGs for casual on-screen viewing, while the raw files are available for editing, printing and archiving.
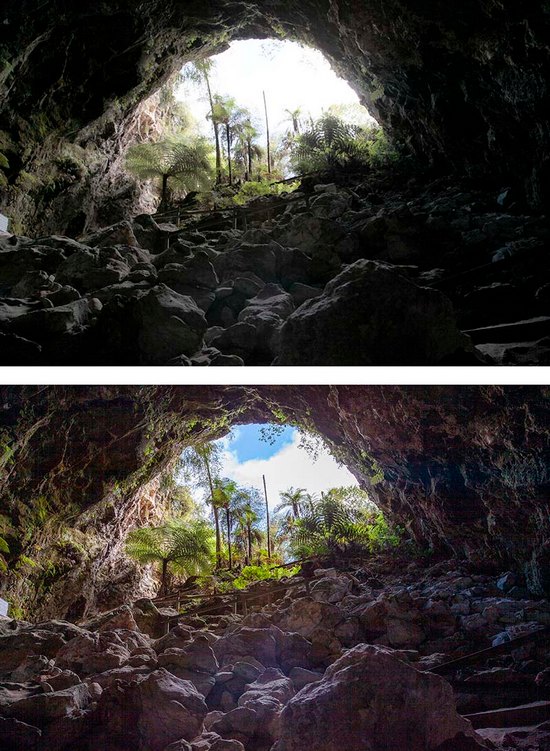
This pair of images demonstrates the value of raw files. The top image is a JPEG, recorded by the camera simultaneously with the raw file shown below. Both images have been edited to bring out colours, details and tonality. The raw file shows how much more scope there is for adjustments, a valuable asset in challenging lighting conditions.
Sunrise and sunset shots
Sunrise and sunset can provide the most dramatic lighting in the day, regardless of where you are. When the sun is close to the horizon, the light has to travel through a thicker layer of air, which reduces its intensity. Particles of dust and moisture in the air absorb the shorter wavelengths in the spectrum, shifting colours towards orange and red.
When the main subject blocks most of the light coming from the sun, you should be able to point the camera directly at the sun to obtain backlit shots like this one. The light is also weaker as it is dispersed by the thicker atmosphere when the sun is low in the sky
Avoid pointing your camera’s lens directly at the sun unless most of its brightness is blocked. And don’t look through the viewfinder, particularly if you’re using a telephoto lens. Because they enlarge the subject, telephoto lenses will amplify the light and may make it bright enough to damage eyes – and camera sensors.
Fit a lens hood to minimise loss of contrast in shots due to lens flare. If you don’t have a hood, shade the front of the lens with a hand or a hat, making sure it’s not included in the shot.
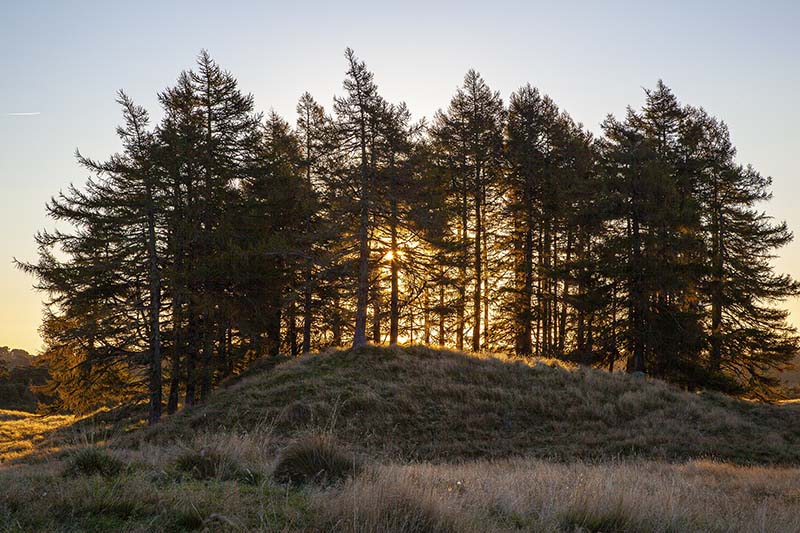
Objects in the foreground can be used to block the direct light from the sun, enabling you to capture the warm ambient lighting without risking your eyes or your camera.
They can also create points of interest in shots because they add context to scenes.
It is notoriously difficult to obtain the optimal exposure for sunsets and sunrises so meter carefully using spot metering to position the central tones in the scene where you want them. Slight under-exposure will deepen tones and make the warm hues appear richer. If in doubt, bracket exposures and choose the shot that looks best on the camera’s monitor.
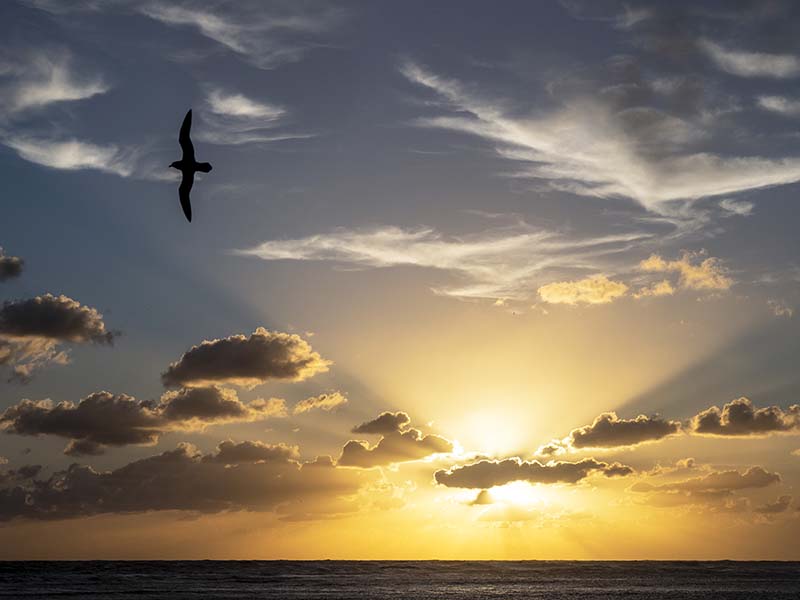
Careful exposure metering was needed to prevent the bright central area from causing the shot to be under-exposed. Spot metering on the sky near the top of the frame was combined with -0.3EV of exposure compensation to deliver this result.
Weather conditions will influence what you can shoot. Shots containing well-placed cloud formations will be more engaging than those with clear skies. Dust and smoke in the air can produce intense colours and dramatic contrasts.
Colours will change with the sun’s position relative to the horizon. Keep shooting after the sun has gone down. Some of the most intense colours appear at this time and auto exposure metering is often possible.
Turn around. The sky directly opposite the sun may be an even better subject than the sunset itself. The colours will probably be less intense and the tonal nuances more subtle but both can produce attractive photographs.
Useful links
Composition strategies
Landscape photo tips
Why shoot RAW
Sunrise and sunset
This article by Margaret Brown is an excerpt from Travel Photography 3rd Edition
Sponsor: Canon