Creative cropping
Cropping images in post-production can give you another chance to re-frame your shots more creatively.
While we normally advise readers to frame shots by ‘cropping within the camera’, there are times when cropping images at the editing stage is worthwhile. Sometimes you simply want to remove distracting elements in the background. At other times you might want a different aspect ratio to fit an image into a frame or onto a page or sheet of printing paper.
There can also be times when your lens simply isn’t long enough to frame the subject as you’d like it, as well as times when you can’t get close enough to the subject due to intervening objects. Cropping the shot in post-production allows you to address all these issues and produce an image that satisfies your requirements.
You need not retain the rectangular shape of the original; cropping to a circle or an oval is also possible. However, because we’re used to seeing rectangular pictures, it is easier to visualise composition and framing with a rectangular photo. Rectangular images also look better when posted on websites that have set boundaries.
But first you need to observe some important precautions.
1. Cropping should not be permanent. Always work on a copy of the image you plan to crop and use a non-destructive editor. Raw files should be converted into JPEG or TIFF format. Note: while you can crop in raw file converters like Adobe Camera Raw, they will not alter the original file and are, therefore, non-destructive.
2. Because pixels are discarded, cropping will always reduce overall resolution. You need to be sure beforehand just how much you can afford to lose. A high-resolution camera will give you more scope for cropping than one with, say, 16 or 20 megapixels.
3. Any inherent problems in the image, such as noise or unsharpness, will be magnified by cropping and subsequent enlargement.
4. When cropping to a specific aspect ratio, your crop should be compliant with standard print sizes, particularly if somebody else will be doing the printing.
The following examples show some instances of creative cropping to illustrate different approaches.
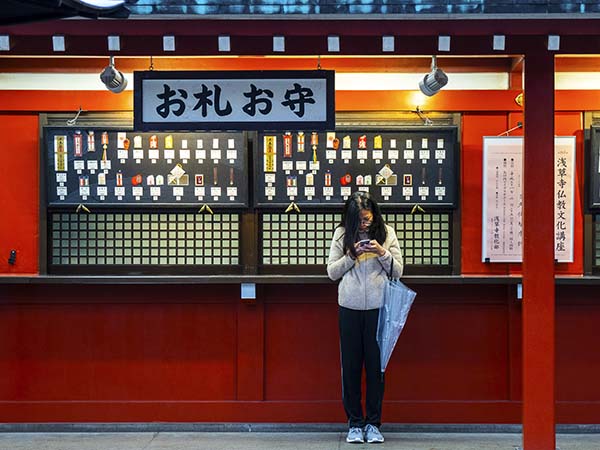
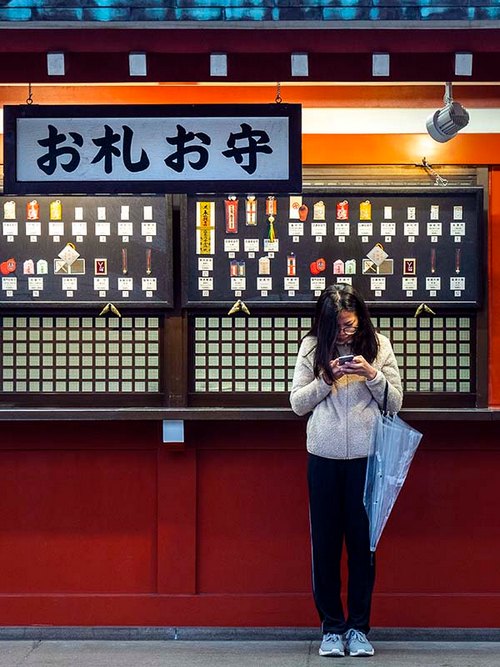
An example of cropping to change the orientation of the shot from horizontal to vertical.
Cropping to change orientation.
The most basic cropping option is for converting a horizontal image into a vertical or vice versa. It’s very easy to do; simply grab the cropping tool and drag a rectangle inside the image that is opposite to the original image’s layout.
In the pair of images shown here the original was a 5082 x 3812 pixel raw file from a M4/3 camera that retained all 16MB of the original image data. After cropping, the vertical dimension of the image remained at 3812 pixels but the horizontal dimension was reduced from 5082 pixels to 2859 pixels, which means 4.8 megapixels of data were discarded. The resulting cropped image measured 24.2 x 32.3 cm at 300 ppi, which means it could be printed at up to A4 size with no loss in image quality.
Be aware of how many pixels will be lost with this option and how many more pixels will be sacrificed if you need to do additional cropping to improve the shot’s composition. In the example shown below, the original was a 6.3MB JPEG measuring 5184 x 3888 pixels from a 20-megapixel super-zoom camera.
Cropping discarded 15.4 megapixels, leaving the end result as a 1.8MB file measuring 1883 x 2511 pixels measured 15.94 x 21.26 cm, which at 300 ppi would fit onto an A4 sheet of paper with white borders around the image.

This example illustrates what can happen when you crop an image to change its orientation and then crop further to improve shot composition. Starting with a JPEG file, which already has a reduced data set, can leave you with borderline image quality and little scope to adjust the image. Image © Jocelyn Millett.
The original image, taken with a DSLR camera, had a native aspect ratio of 3:2, which was incompatible with a widescreen TV set. Cropping it to a 16:9 aspect ratio allows it to fill the TV set’s screen without sacrificing much of the original image.
Cropping to change aspect ratio.
Changing the aspect ratio in a camera’s shooting menu will always crop the native aspect ratio frame and pixels will be discarded. It may be necessary to match the image to a sheet of printing paper or fit into a standard frame or a widescreen TV set when you’re preparing a slideshow. Sometimes an image simply looks better with a different aspect ratio from the camera’s native one.
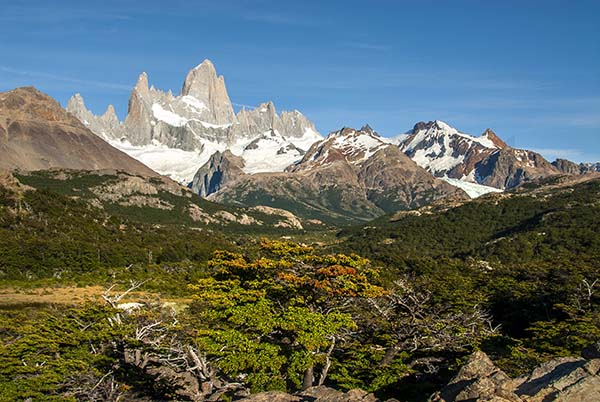
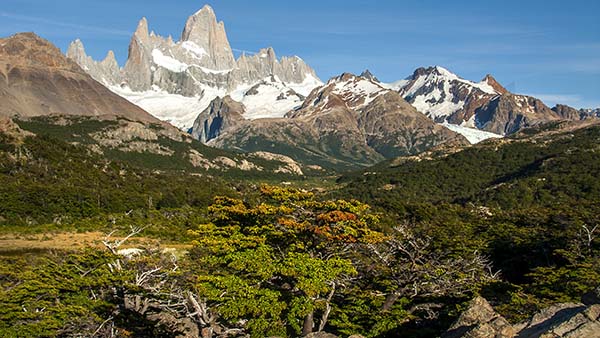
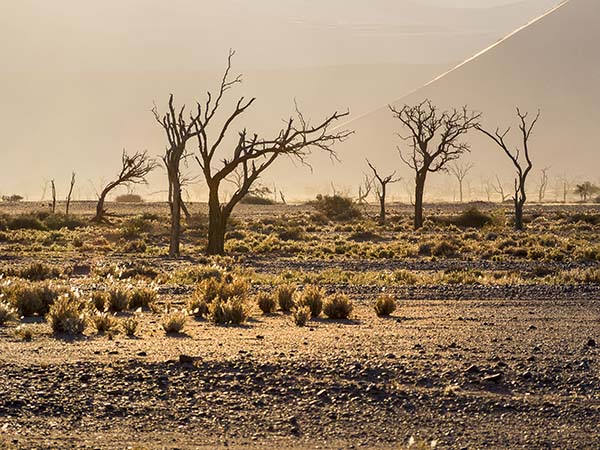
This example shows the use of cropping to cut back a large area of uninteresting sky and, at the same time, reduce the area covered by a ‘soft’ foreground.
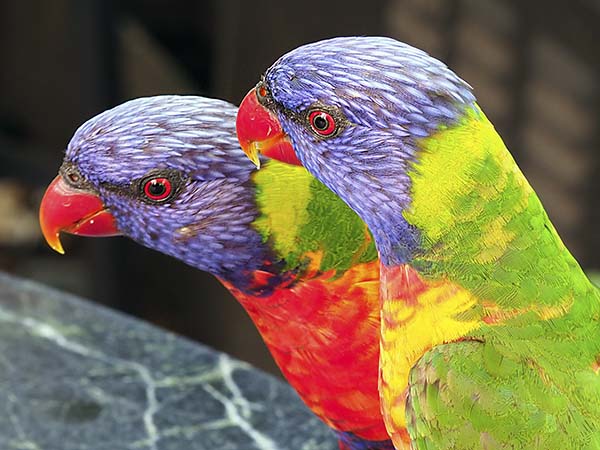
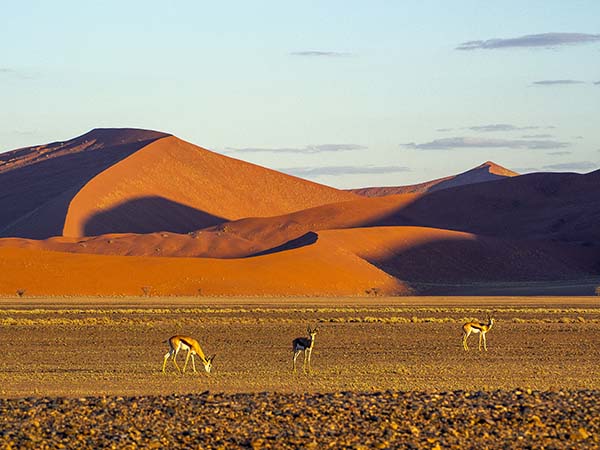
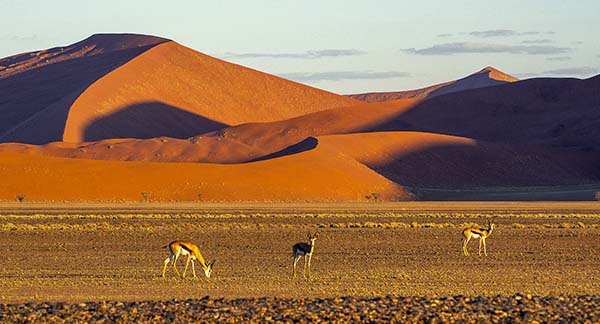
This is an example of cropping to extract a close-up from a larger image. While the cropped image brings the focus to the main subject by removing unnecessary distractions, such drastic cropping requires a high-resolution original image to keep the end result usable.
Cropping to show a different perspective.
Sometimes simply tightening the framing by cropping an image can present the subject from a different point of view. Two typical examples are cropping out areas of flat, uninteresting sky or out-of-focus foregrounds and extracting a close-up from a larger image. Since lenses are generally sharper around the centre of the frame and cameras focus best with their central focus points (especially in indoor low-light environments) this works best with subjects that are in – or near – the centre of the frame.
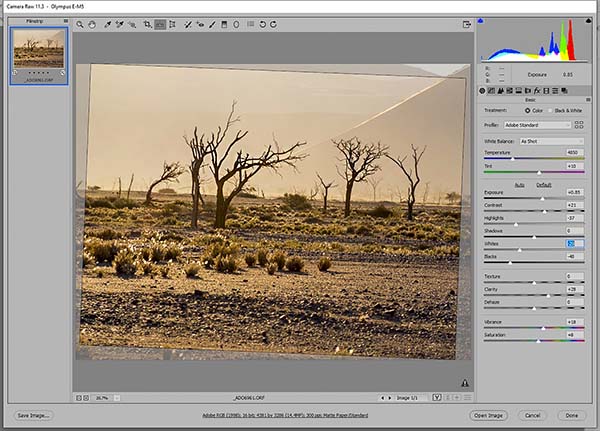
Straightening sloping horizons is a simple process in raw file converters like Adobe Camera Raw. The end result retains the aspect ratio of the original – unless the photographer chooses a different aspect ratio from the dropdown menu for the cropping tool.
Cropping to straighten slanting horizons.
The straightening tools in most image editors and raw file converters can do this with minimal loss of pixels. In most cases this should be done while converting raw files into editable JPEG or TIFF formats.

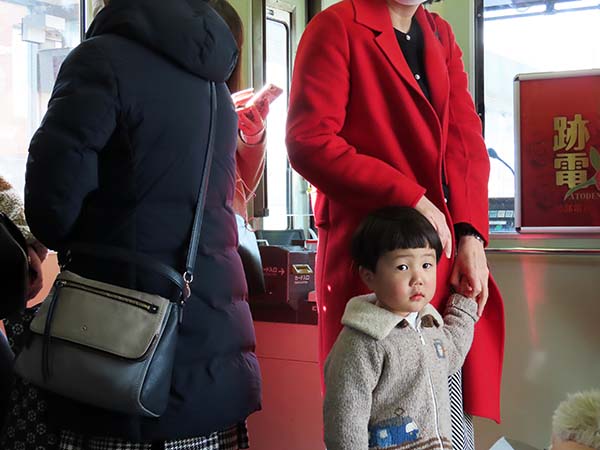
An example of the use of cropping to exclude unwanted elements. In this case, a substantial amount of cropping was required since it was necessary to remove the third figure in the shot because the unwanted intruder overlapped onto her.
Cropping to exclude unwanted elements.
Sometimes it’s impossible (or at least difficult) to prevent distracting elements from intruding into your shots. You can crop to improve the way an image is framed by excluding unwanted elements that were inadvertently (or deliberately) included. Cropping out somebody who walked into the edge of the frame while you were taking the picture is an example.
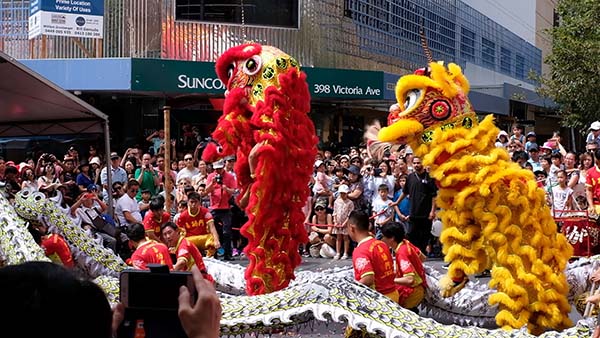
When photographing activities in crowded public places it can be impossible to keep people from popping up in front of you to take pictures. In this case, there is no way to crop out the intruder without destroying the integrity of the composition.
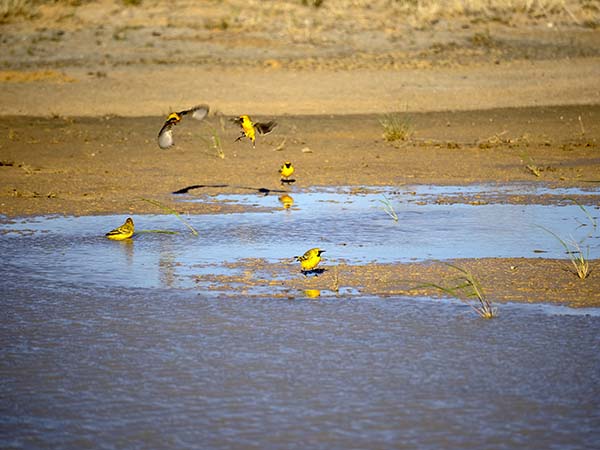
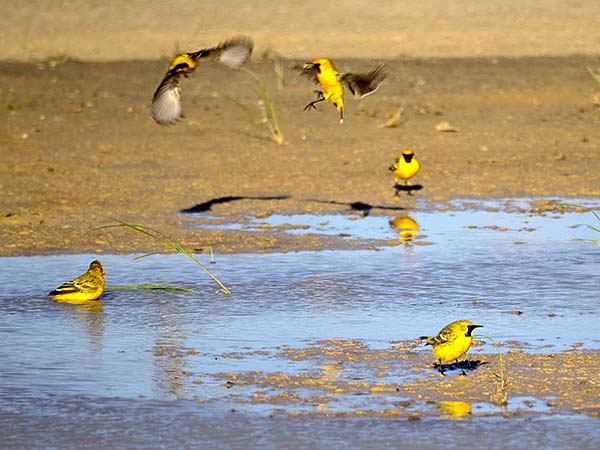
The orange chats in this picture were on the opposite side of an area of shallow water and beyond the reach of the 600mm equivalent lens, which was the longest available on that trip. Cropping was the best way to create a recognisable picture of these birds.
Cropping because you can’t get close enough.
Sometimes you simply don’t have a long enough lens to cover the main subject of your picture or something prevents you from approaching closer to the subject. Cropping can change the subject from being part of the scenery to being the main focus of the picture.
As before, bear in mind that the more pixels you discard, the more you reduce the quality of the image and the options you have for outputting it as a print or for screen viewing.
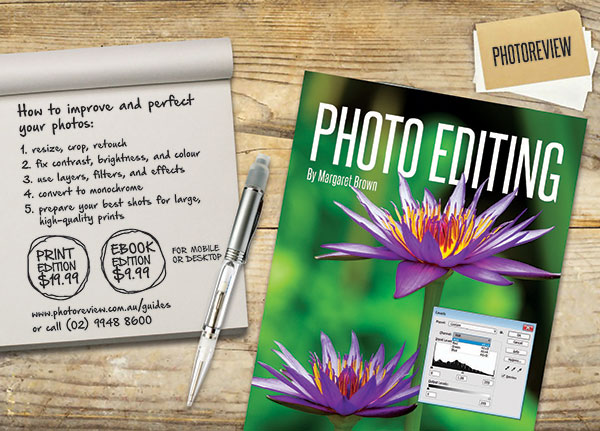
Article by Margaret Brown – see Margaret’s photography pocket guides
Excerpt from Photo Review Issue 82
Subscribe to Photo Review magazine